Can you clean a dog’s ears with cotton buds or Q-tips? Do not put cotton swabs inside the ear canal: they can push debris deeper or injure the canal or eardrum. If your dog’s ears need cleaning, use a veterinarian-recommended ear cleaner and soft cotton balls or gauze to wipe away loosened debris you can reach safely. Some healthy dogs never need routine ear cleaning. If an ear is red, painful, inflamed or has discharge or a strong odor, ask your veterinarian before cleaning it.
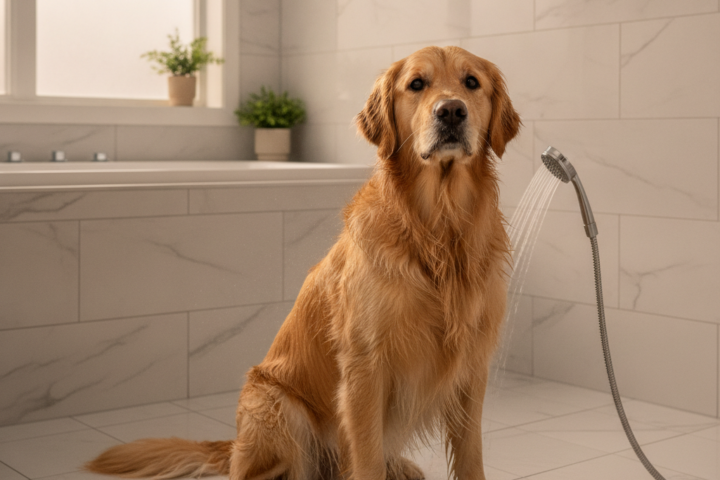
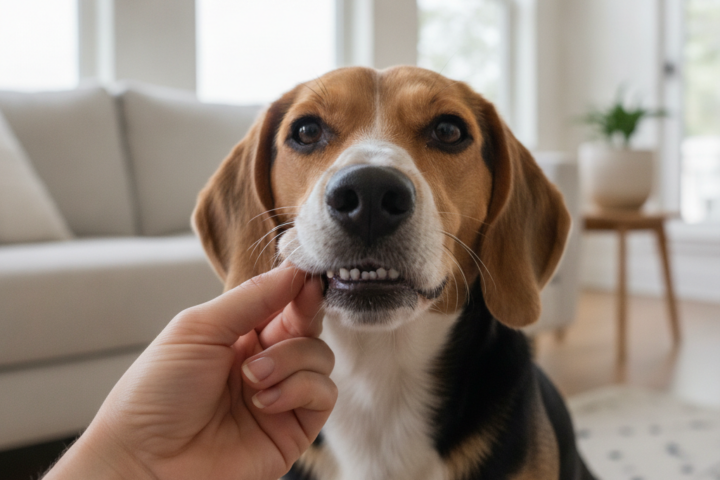
Ear cleaning is only one part of preventive grooming. A complete routine can also include brushing your dog’s teeth at home and choosing how often your dog should be bathed.
Table of Contents
Key Takeaways for Safe Ear Cleaning
- Always use a vet-approved ear cleaning solution and avoid cotton swabs.
- Understand your dog’s L-shaped ear canal to clean effectively and safely.
- Clean ears in a calm environment, following a gentle step-by-step process.
- Clean only when needed or on a schedule your veterinarian recommends; over-cleaning can irritate the ear canal.
- Recognize warning signs like foul odor or pain, which mean it’s time to see the vet.
Understanding Canine Ear Anatomy and Why Cleaning Matters
Unlike human ears, a dog’s ear canal has a distinctive L-shape, starting vertically and then making a sharp turn horizontally before reaching the eardrum. This unique anatomy helps protect the eardrum but also means that debris, moisture, and wax (known as cerumen) can easily get trapped deep inside. Improper cleaning tools, like cotton swabs, can push this material further down, creating blockages or even rupturing the eardrum.
A small amount of earwax is normal. Some dogs have healthy, clean ears that do not need routine cleaning, while dogs prone to ear problems may need a veterinarian-recommended schedule. Check your dog’s ears regularly, but avoid unnecessary cleaning because it can irritate the ear canal.
Gathering Your Supplies: What You Need (and What to Avoid)
Having the correct supplies on hand makes the cleaning process easier and safer for both you and your dog. Choose these items carefully:
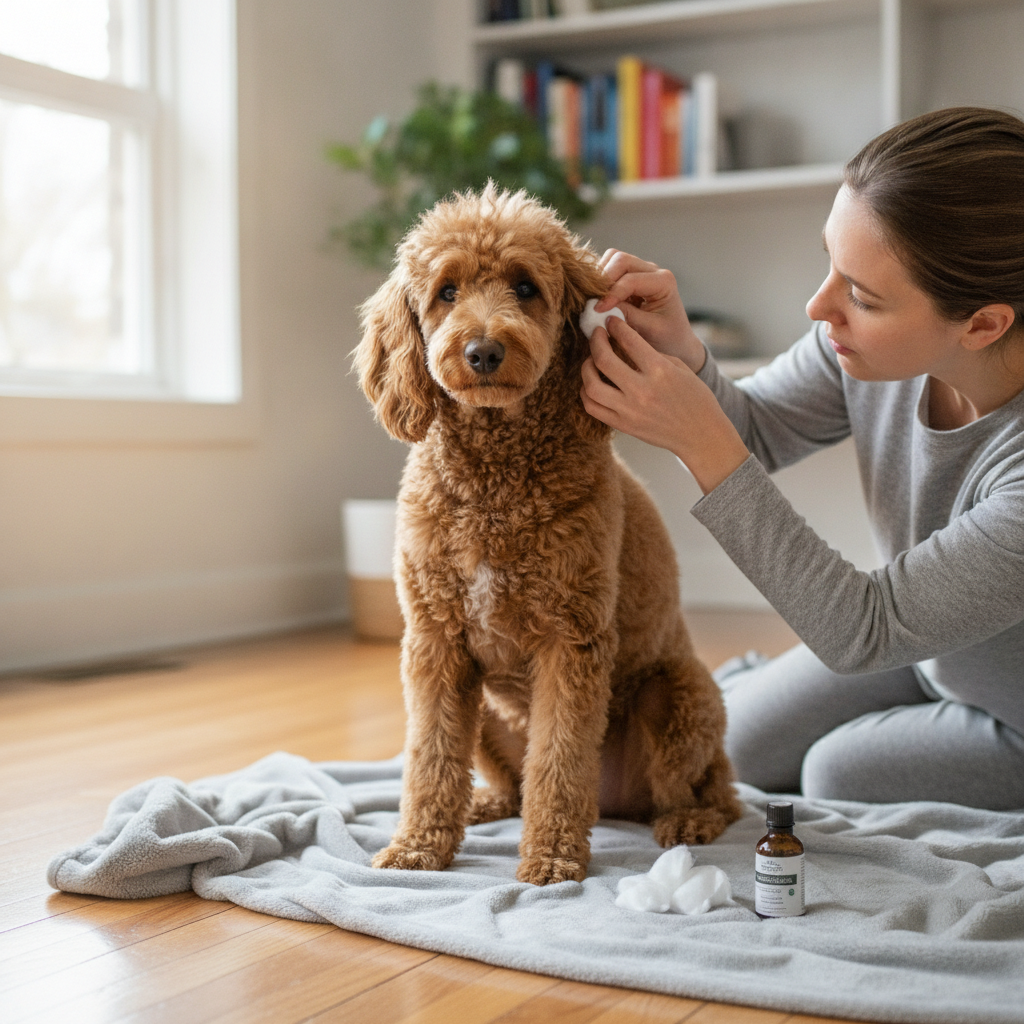
- Veterinarian-Approved Dog Ear Cleaning Solution: This is crucial. Your vet can recommend a gentle, pH-balanced solution designed to dissolve wax and dry the ear canal without causing irritation.
- Soft Cotton Balls or Gauze Pads: These are ideal for wiping away visible debris from the outer ear and the opening of the ear canal.
- Plenty of Treats: Positive reinforcement helps make ear cleaning a more pleasant experience for your dog.
Crucial Warning: Why Cotton Swabs (Q-tips) Are Dangerous
While commonly used by humans, cotton swabs are absolutely not recommended for cleaning inside your dog’s ear canal. Their size and shape make it easy to push wax and debris deeper into the L-shaped canal, potentially causing blockages, abrasions, or even rupturing the eardrum. Stick to cotton balls or gauze pads for the visible parts of the outer ear only.
Step-by-Step Guide to Cleaning Your Dog’s Ears Safely
Approach ear cleaning calmly and methodically. Here’s how to clean dog ears safely at home:
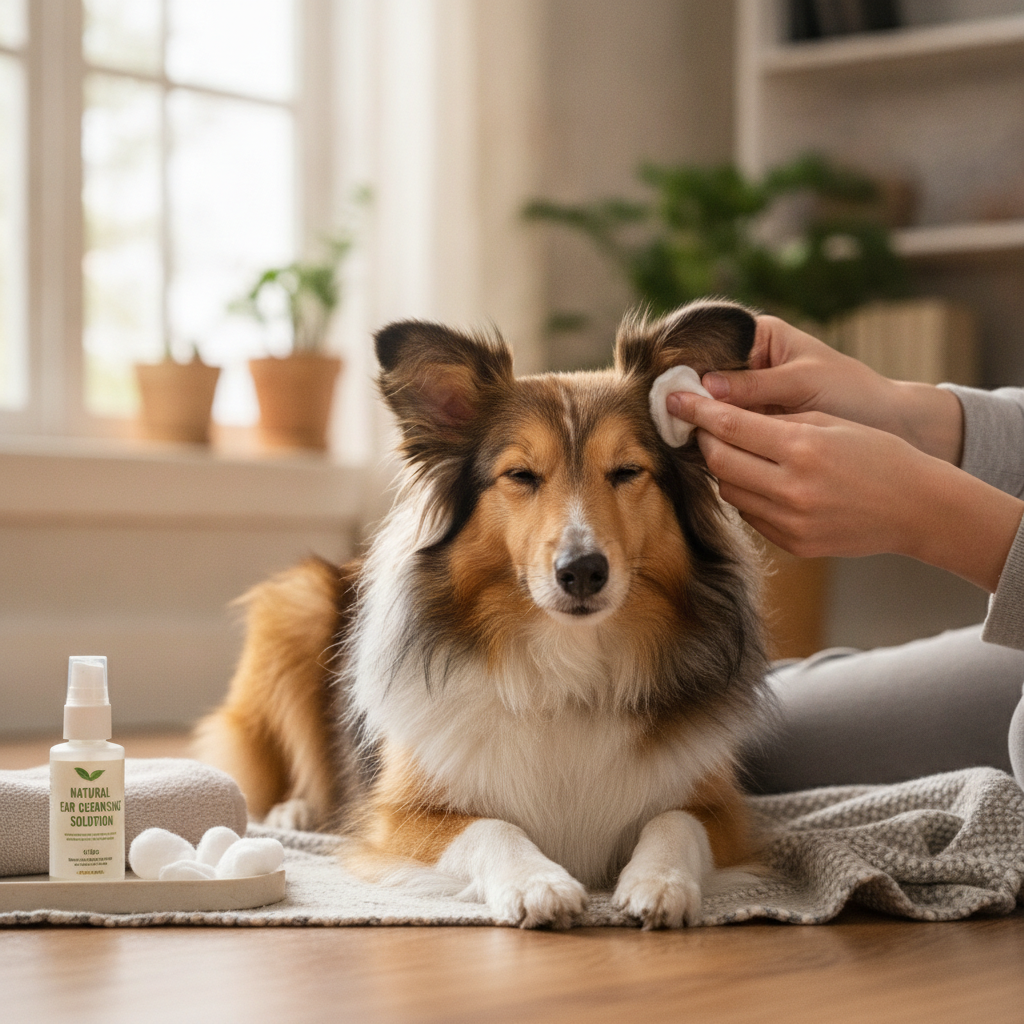
- Prepare a Calm Environment: Choose a quiet time and place where your dog feels secure. Have all your supplies ready before you start. Offer gentle praise and a few treats to help them relax.
- Gently Position Your Dog: You might need a helper to gently hold your dog, especially if they are new to ear cleaning. Avoid restraining them too tightly, as this can cause stress.
- Lift the Ear Flap: Gently lift your dog’s ear flap (the pinna) to expose the opening of the ear canal.
- Apply the Solution: Carefully hold the bottle of veterinarian-approved dog ear cleaning solution near the ear canal opening. Follow the product instructions for the amount, typically filling the vertical canal until it overflows slightly. Do not insert the bottle tip deeply into the ear.
- Massage the Ear Base: Gently but firmly massage the base of your dog’s ear for about 20-30 seconds. You should hear a squishing sound as the solution works to loosen wax and debris. This massage is key to safely dislodging material from deep within the ear.
- Allow Your Dog to Shake Their Head: Stand back and allow your dog to shake their head. This natural action helps to bring loosened wax and debris from the deeper parts of the ear canal up towards the surface. Have a towel ready, as it can get a little messy!
- Wipe Away Visible Debris: Using a fresh cotton ball or gauze pad wrapped around your finger, gently wipe away any visible solution, dirt, or wax from the outer ear flap and the immediate opening of the ear canal. Never push your finger or the cotton deeply into the canal.
- Praise and Reward: Always finish with plenty of praise, affection, and a generous treat to create a positive association with ear cleaning.
Causes of Excessive Debris and Ear Discomfort
Excessive ear debris or discomfort can point to an underlying problem that cleaning alone will not solve. These signs can help you know when to seek professional advice:
- Allergies: Environmental allergens (like pollen or dust mites) or food allergies can trigger inflammation throughout a dog’s body, including the ears. This often leads to increased cerumen production, redness, and itchiness, making the ears more prone to secondary infections like a yeast infection.
- Trapped Moisture: Dogs who love to swim or get frequent baths are susceptible to moisture becoming trapped in their ear canals. This damp environment is an ideal breeding ground for bacteria and yeast, leading to infections.
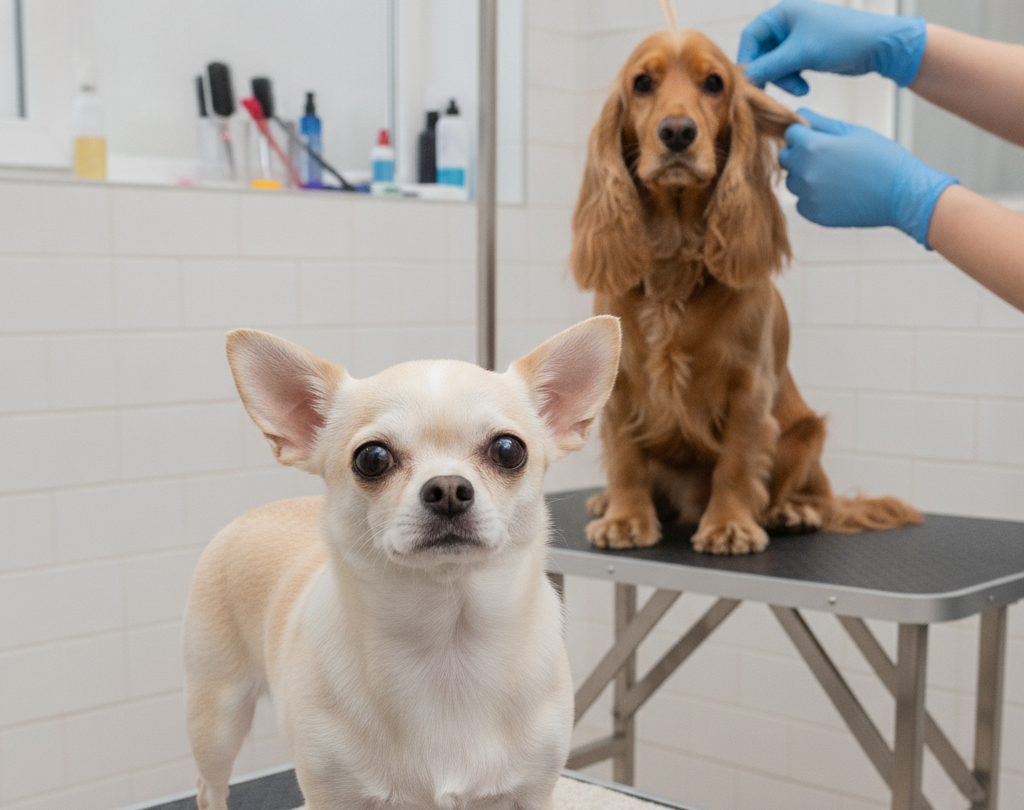
- Natural Anatomical Predispositions: Certain breeds are more prone to ear issues due to their ear structure. Floppy-eared dog grooming often involves extra vigilance, as breeds like Basset Hounds, Cocker Spaniels, and Poodles have ears that cover the canal, reducing airflow and trapping moisture and warmth. Dogs with very hairy ear canals can also experience similar issues.
- Ear Mites: These tiny parasites can cause intense itchiness, head shaking, and a dark, crumbly discharge resembling coffee grounds.
Red Flags: When to Stop Cleaning and Visit the Veterinarian
It’s important to distinguish between routine cleaning and addressing an active infection or injury. If you notice any of these dog ear infection signs, stop cleaning immediately and contact your veterinarian:
- Strong Foul Odors: A distinct, unpleasant smell (often yeasty or pus-like) coming from the ear.
- Heavy Discharge or Pus: Any discharge that is yellow, green, black, or bloody, especially if it’s thick or excessive.
- Severe Redness, Swelling, or Pain: The ear flap or inside the canal looks very red, swollen, or feels hot to the touch. Your dog may yelp, pull away, or become aggressive when the ear is touched.
- Head Tilting, Constant Scratching, or Loss of Balance: These are strong indicators of significant discomfort or a deeper ear problem.
- Shaking or Rubbing: Persistent head shaking, ear flapping, or rubbing the ears on furniture or the ground.
- Visible Injury or Foreign Object: If you see any cuts, scrapes, or notice a foreign object (like a grass awn) in the ear.
Attempting to clean an infected or injured ear can cause further pain and damage. A professional diagnosis from your veterinarian is essential before any medicated drops or treatments are used, as different types of infections require specific medications.
Frequently Asked Questions About Dog Ear Cleaning
How often should I clean my dog’s ears at home?
There is no monthly schedule that fits every dog. Some dogs with healthy, clean ears may never need routine cleaning; dogs prone to ear problems may need more frequent care. Check your dog’s ears regularly and ask your veterinarian whether cleaning is needed and how often, especially if your dog has recurrent infections or swims frequently. Over-cleaning can irritate the ear canal.
Can I use rubbing alcohol or hydrogen peroxide to clean my dog’s ears?
Do not use rubbing alcohol or hydrogen peroxide unless your veterinarian specifically tells you to. These ingredients can irritate the ear canal, especially when it is already inflamed. Ask your veterinarian to recommend a suitable dog ear cleaner.
What should I do if my dog fights me during ear cleaning?
If your dog struggles or shows signs of fear or aggression, stop the cleaning session. Forcing the issue can create a negative association and make future cleanings harder. Instead, practice positive reinforcement by touching their ears briefly, rewarding them with high-value treats and praise, and gradually increasing the duration. If resistance persists, or if you suspect pain, consult your veterinarian. They can offer guidance, demonstrate proper techniques, or even clean the ears themselves.
Are certain dog breeds more prone to ear infections?
Yes, breeds with floppy ears (like Cocker Spaniels, Basset Hounds, or Golden Retrievers) or those with hairy ear canals (like Poodles or Schnauzers) are more prone to ear infections. Their ear structure can trap moisture and reduce airflow, creating an ideal environment for bacteria and yeast to thrive. Regular inspection and appropriate floppy eared dog grooming, along with targeted cleaning, are often necessary for these breeds.
By following these guidelines and paying close attention to your dog’s comfort and ear health, you can make ear cleaning a safe and manageable part of their care. Remember, your veterinarian is always your best resource for any concerns about your dog’s ears.